
How to Calibrate Your TV: Brightness, Contrast and Colour Temperature Explained
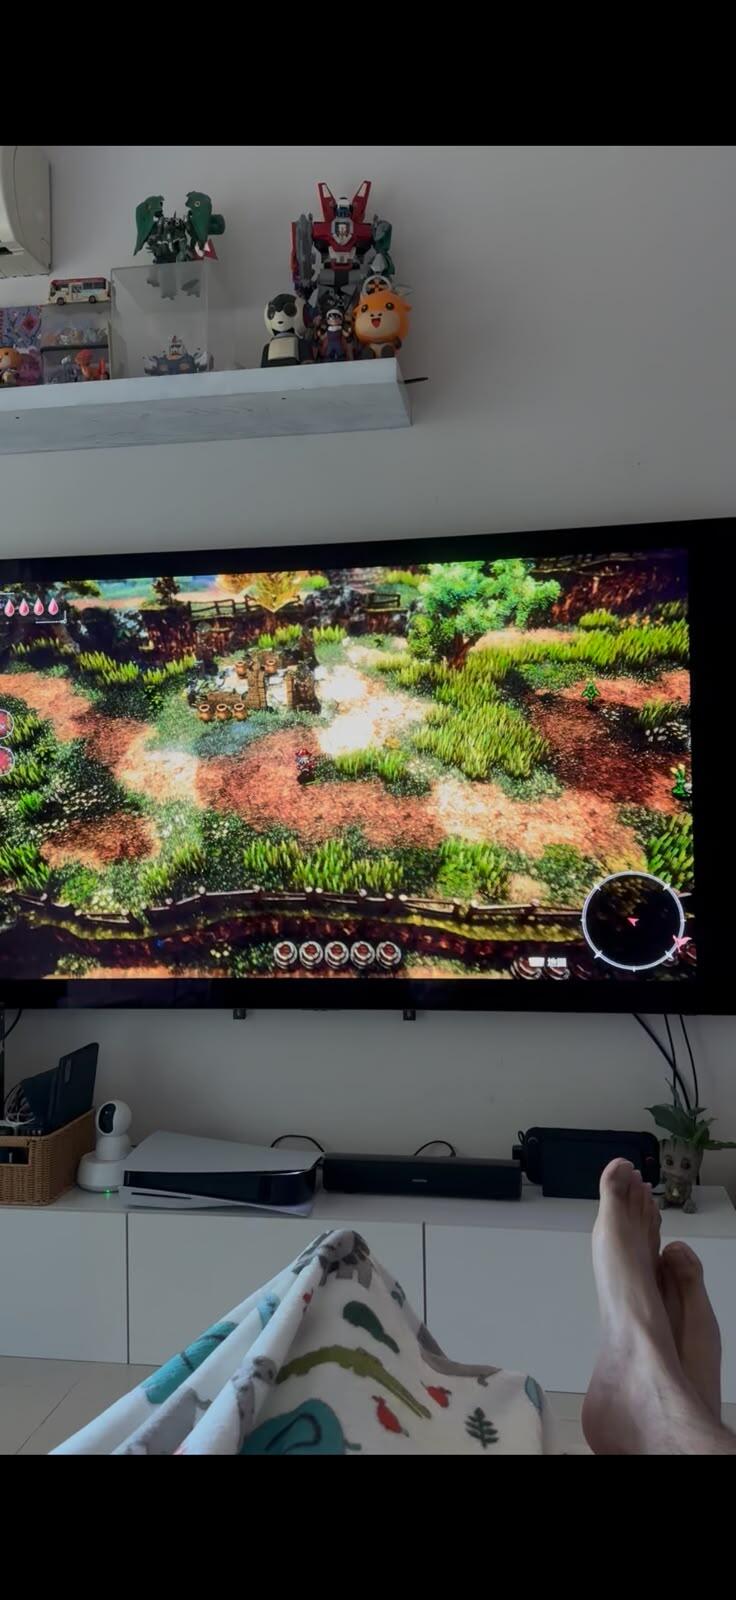
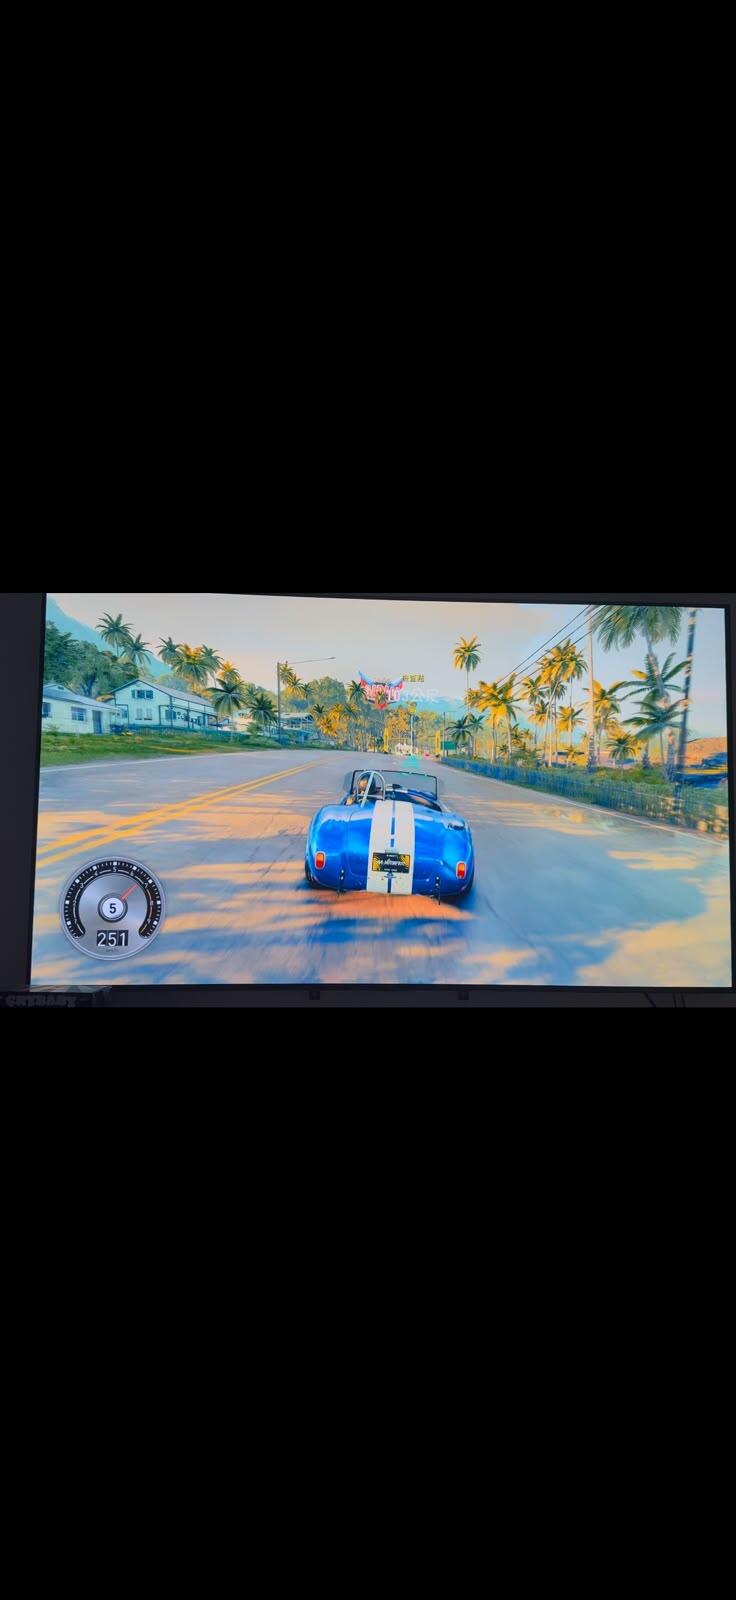
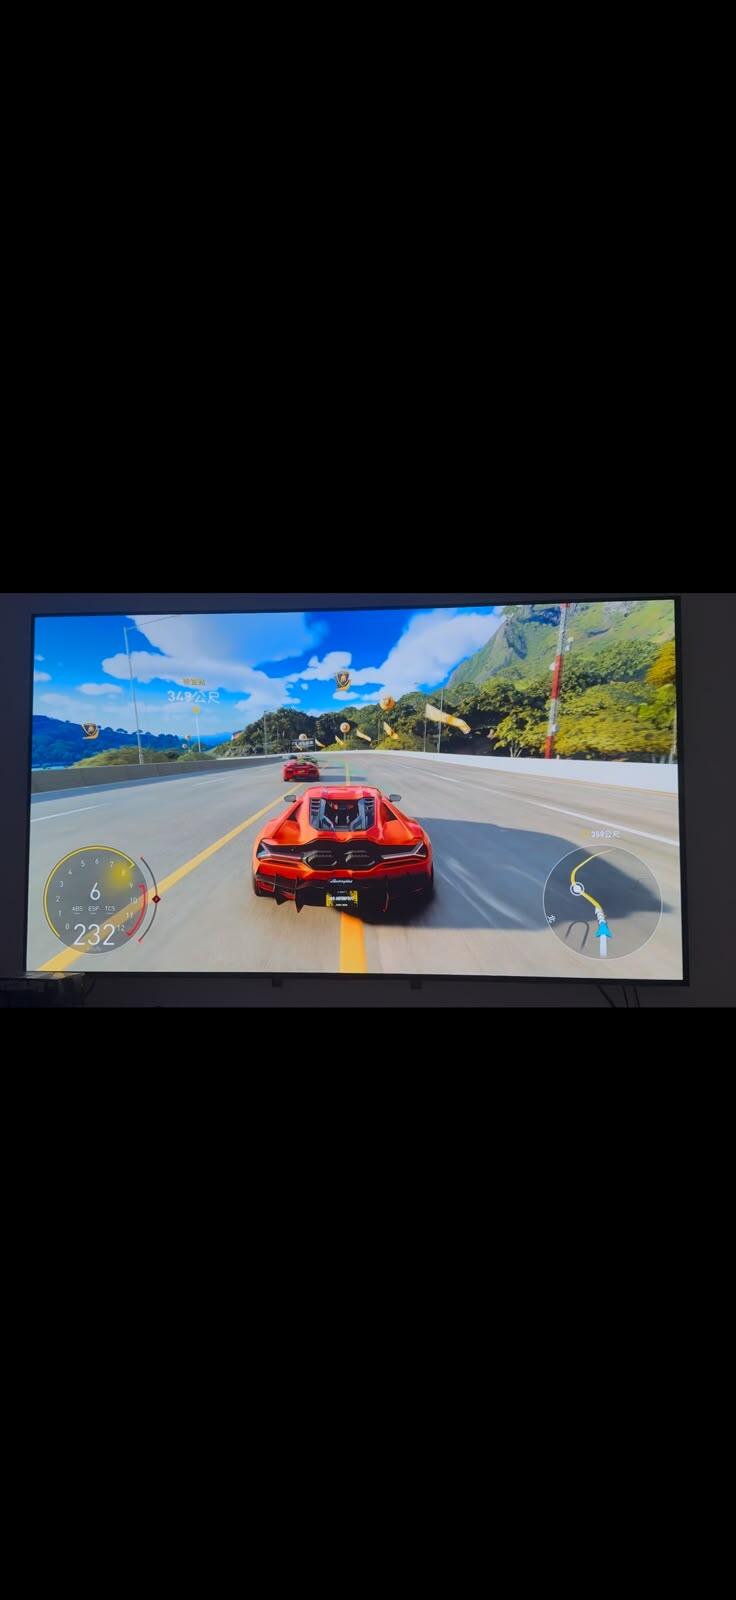
Factory picture settings are tuned for a shop floor — bright, punchy, eye-catching under showroom lighting. At home the same settings become too bright and over-saturated: films look unnatural, and an evening of viewing leaves your eyes tired.
This guide covers three things: what each control actually does, why most people do not need to adjust them one by one, and what is specific to a Hong Kong living room.
The most useful thing you can do: switch to Filmmaker Mode
If you only read one section, read this one.
Filmmaker Mode is an industry-standard picture mode defined by the UHD Alliance. Turning it on disables motion smoothing, sharpening and noise reduction in a single step, and sets colour temperature and gamma to production standards — giving you the image the director actually approved.
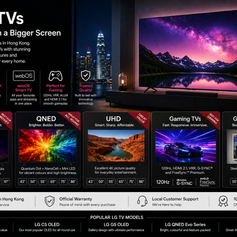
Every Samsung TV from 2022 onward has it, including all of our Samsung TVs (2024–2026 models). LG supports it too.
On a Samsung: Settings → All Settings → Picture → Picture Mode → FILMMAKER MODE
Once you have done that, about eight readers in ten can stop — no further adjustment needed. The manufacturer has already calibrated it, and calibrated it more accurately than most people manage by hand.
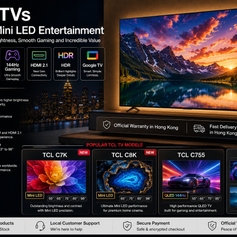
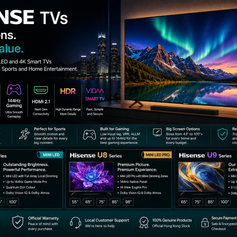
If your TV runs Google TV (TCL, Hisense, Skyworth, Toshiba): the official Filmmaker Mode brand list is currently LG, Panasonic, TP Vision, Samsung and VIZIO — the Google TV camp is not included yet. On those sets the equivalent is: choose "Movie" or "Cinema" as the picture mode, then go in and switch off motion interpolation manually (TCL usually calls it "Motion Clarity" or "Action Smoothing"; Hisense calls it "Motion Enhancement"). The result is very close to Filmmaker Mode.
The sections below are for people who want to go further, or whose TV has no Filmmaker Mode.
⚠ What most calibration guides get wrong: what does "Brightness" actually control?
Most online calibration articles say "Brightness controls how deep the blacks are". On a Samsung TV from 2022 onward, that is simply wrong.
Samsung's official support documentation is explicit:
| Setting | What it actually controls |
|---|---|
| Brightness | Overall picture light output — what used to be called "Backlight" |
| Shadow Detail | Visibility of detail in dark areas — this is the one to adjust for night scenes |
| Contrast | White / highlight brightness |
| Sharpness | Edge-enhancement strength |
| Colour / Tint | Colour saturation / green-red balance |
| Colour Tone | Colour temperature (Cool / Standard / Warm1 / Warm2) |
| Gamma | Mid-tone brightness curve |
| Local Dimming | Backlight zone control strength (Mini LED models) |
What this means in practice: if you cannot see what is happening in a dark scene, do not touch Brightness — go into Expert Settings and raise Shadow Detail. Raising Brightness instead just lifts the whole image and turns black into grey, making things progressively worse.
(Samsung sets from 2021 and earlier have a separate "Backlight" slider and behave differently — if yours is an older model, the legacy logic applies.)
Setting by setting: what to actually do
1. Brightness — set it by room light, not "lower is better"
This is the one setting that should be matched to your room.
- Bright daytime living room (very common in south-facing Hong Kong flats) — turn it up. Leave it low and the picture just looks washed out and grey, and you will assume the TV is not bright enough
- Watching films with the lights off — turn it down. Too bright is tiring, and dark scenes lose their sense of contrast
The practical answer: save two setups. One mode for daylight (for example Standard with brightness raised), Filmmaker Mode for the evening. Most TVs remember settings separately per picture mode.
If your living room is bright enough that even a Mini LED struggles, that is a hardware limit rather than a settings problem — look at Mini LED TVs or the higher brightness headroom of Neo QLED (QN90D).
2. Shadow Detail — the control for "I can't see anything in night scenes"
Play a dark scene (a crime thriller, a space film, horror — anything), then raise Shadow Detail slowly until you can make out shapes inside the shadows while black still looks black. Do not push it until black turns grey; overdoing this strips the cinematic look out of everything you watch.
3. Contrast — leave it alone in Movie / Filmmaker Mode
Plenty of articles tell you to "set Contrast to 80–90%". That is CRT and early-plasma advice, and it does not apply to modern TVs.
In Movie or Filmmaker Mode, the factory Contrast default is already calibrated. Forcing it up to 80–90% clips highlights — white shirts, clouds and snow lose all their gradation, which is exactly the outcome you are trying to avoid.
Recommendation: do not touch it. Adjust only if a test pattern shows you genuinely losing highlight detail.
4. Colour Tone — choose Warm, never Cool
Professional film and TV content is mastered to D65 (roughly 6500K), which approximates natural daylight. On a Samsung, the setting closest to that standard is Warm2 (some models label it simply Warm).
It will look "too yellow" for the first day or two — that is normal, because your eyes are used to the shop floor's blue push. Give it two or three days and the Cool setting will look obviously fake when you switch back.
Cool and Standard are the wrong choices: the image skews blue, skin tones go sallow, and you are as far from the production standard as the TV can take you.
5. Sharpness — set it to 0, and this matters more in Hong Kong
Sharpness does not make the picture more detailed — it adds an artificial white halo along the edges of objects. 4K content already carries all the detail there is; any added sharpening just adds artefacts.
Set it to 0 (Samsung's range is 0–20, so 0; on brands using a 0–100 scale, 50 is usually the neutral midpoint — your set's factory default tells you where neutral is).
Why this matters here: Hong Kong viewing distances are short — roughly 1.7–2.3 m for a 55-inch and 2.0–2.7 m for a 65-inch. The closer you sit, the more obvious those artificial edges become. In a large overseas living room you might sit far enough away not to notice; at Hong Kong distances you see it immediately.
6. Colour — judge it on skin tones
Use real-world references: skin, grass, sky. When saturation is right, skin looks naturally pink or beige rather than sunburnt. On most sets the default midpoint is already correct and needs no adjustment.
7. The one thing you must switch off: motion interpolation
This is what makes films look like daytime soap opera (the "soap opera effect"). Filmmaker Mode disables it automatically; if you are not using Filmmaker Mode, switch it off yourself:
- Samsung: Picture → Expert Settings → Picture Clarity Settings → turn off, or set Judder/Blur Reduction to 0
- Google TV sets (TCL / Hisense / Skyworth / Toshiba): in the picture settings, find Motion / Motion Clarity / Motion Enhancement and switch it off
The one exception is football and live sport, where fast horizontal camera pans genuinely benefit from some motion processing. So use Sports mode for matches and Filmmaker Mode for films — keep them separate.
⚠ The step most people miss: SDR and HDR are two separate setups
This is the most common source of frustration.
You spend half an evening getting everything right — then you start a Netflix HDR title and the picture looks "wrong" again. You did not make a mistake: a modern TV keeps two entirely separate sets of settings for SDR and HDR.
Which means:
- Everything you adjust while watching normal broadcast or standard YouTube = your SDR settings
- The moment Netflix or Disney+ HDR content starts, the TV switches to its HDR settings
- The two must be adjusted separately: leave an HDR title playing and go through the settings again
The rules are different in HDR: HDR content carries its own brightness information (metadata), so brightness should be at or near maximum — do not apply SDR logic and turn it down, or you throw away the point of HDR. Filmmaker Mode is still the safest starting point in HDR.
Samsung sets add two HDR-specific items: HDR Tone Mapping, which affects how highlights are handled, and Auto HDR Remastering, which simulates HDR from SDR sources (leave it off for films; it is reasonable for general viewing).
Picture modes: what each one is for
| Mode | Purpose | Recommendation |
|---|---|---|
| Filmmaker Mode | Films and drama, accuracy first | First choice for films — use it if you have it |
| Movie / Cinema | Same intent, but some processing remains | Use this if there is no Filmmaker Mode |
| Standard | Everyday TV, bright rooms | Fine for daytime |
| Sports | Live sport | Use for matches — motion processing genuinely helps |
| Game | Console or PC input | Essential for gaming — reduces input lag |
| Dynamic / Vivid | Shop-floor display | Not recommended at home |
| Eco | Power saving | Dims automatically with ambient light; not for films |
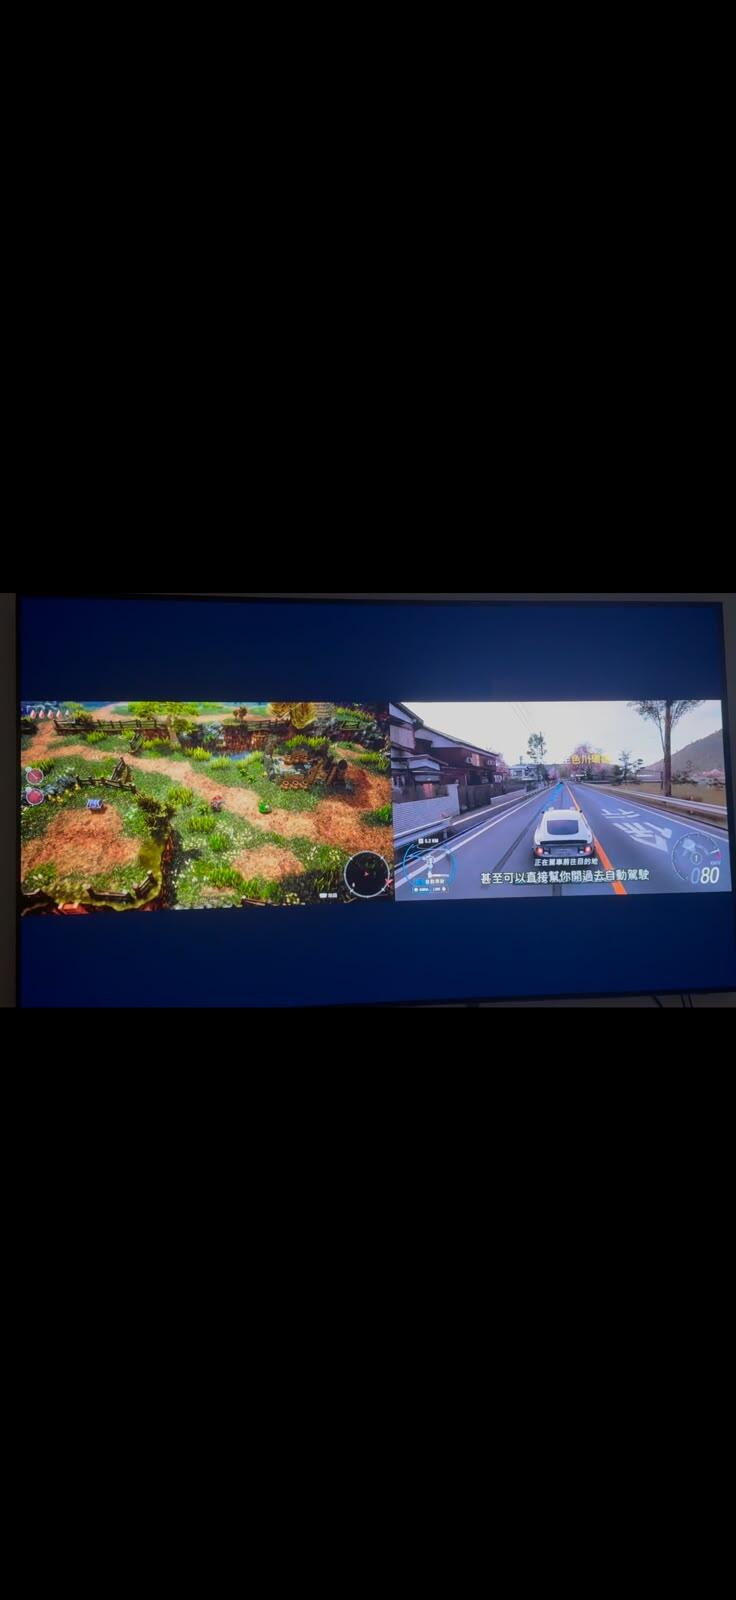
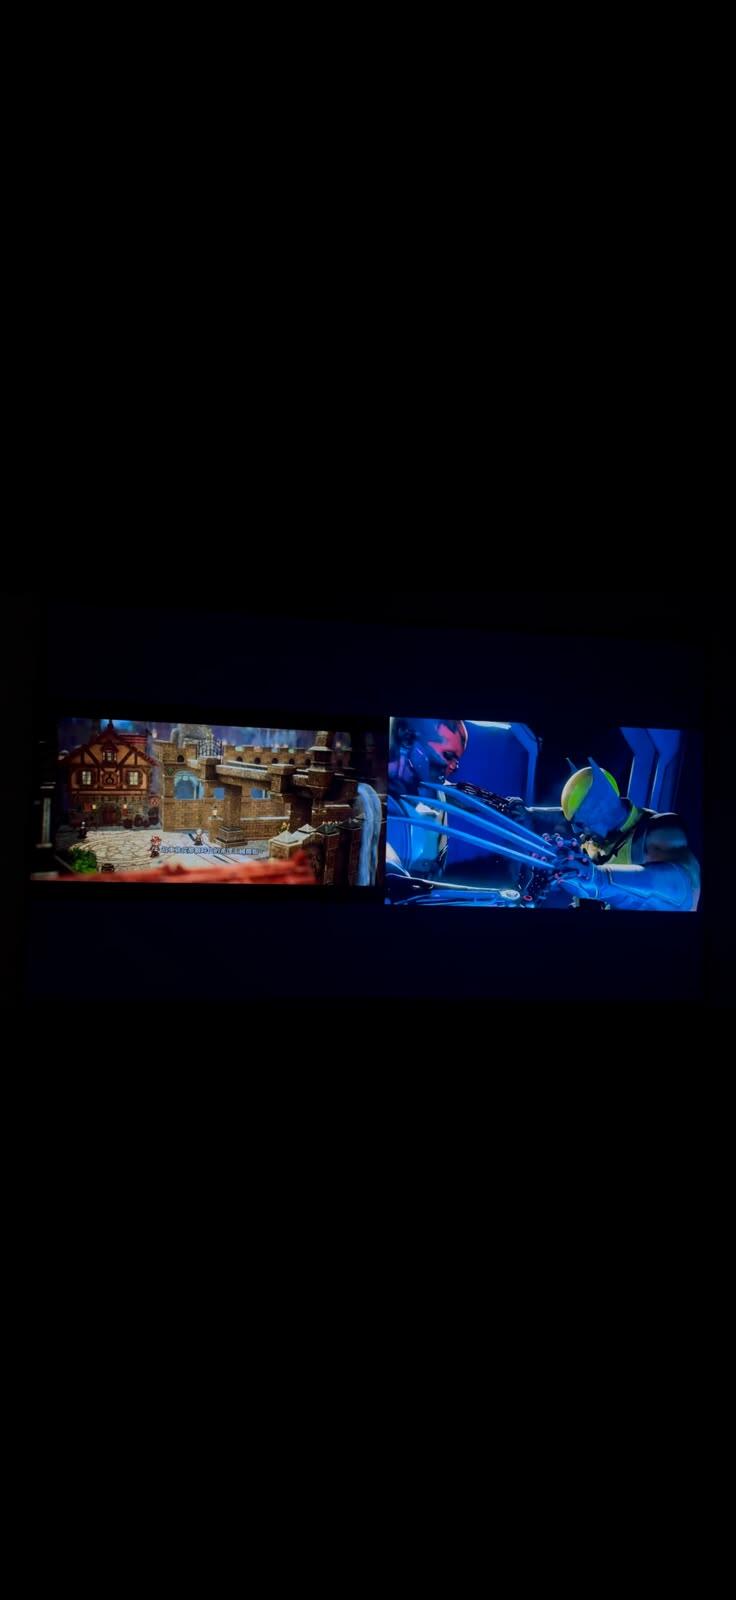
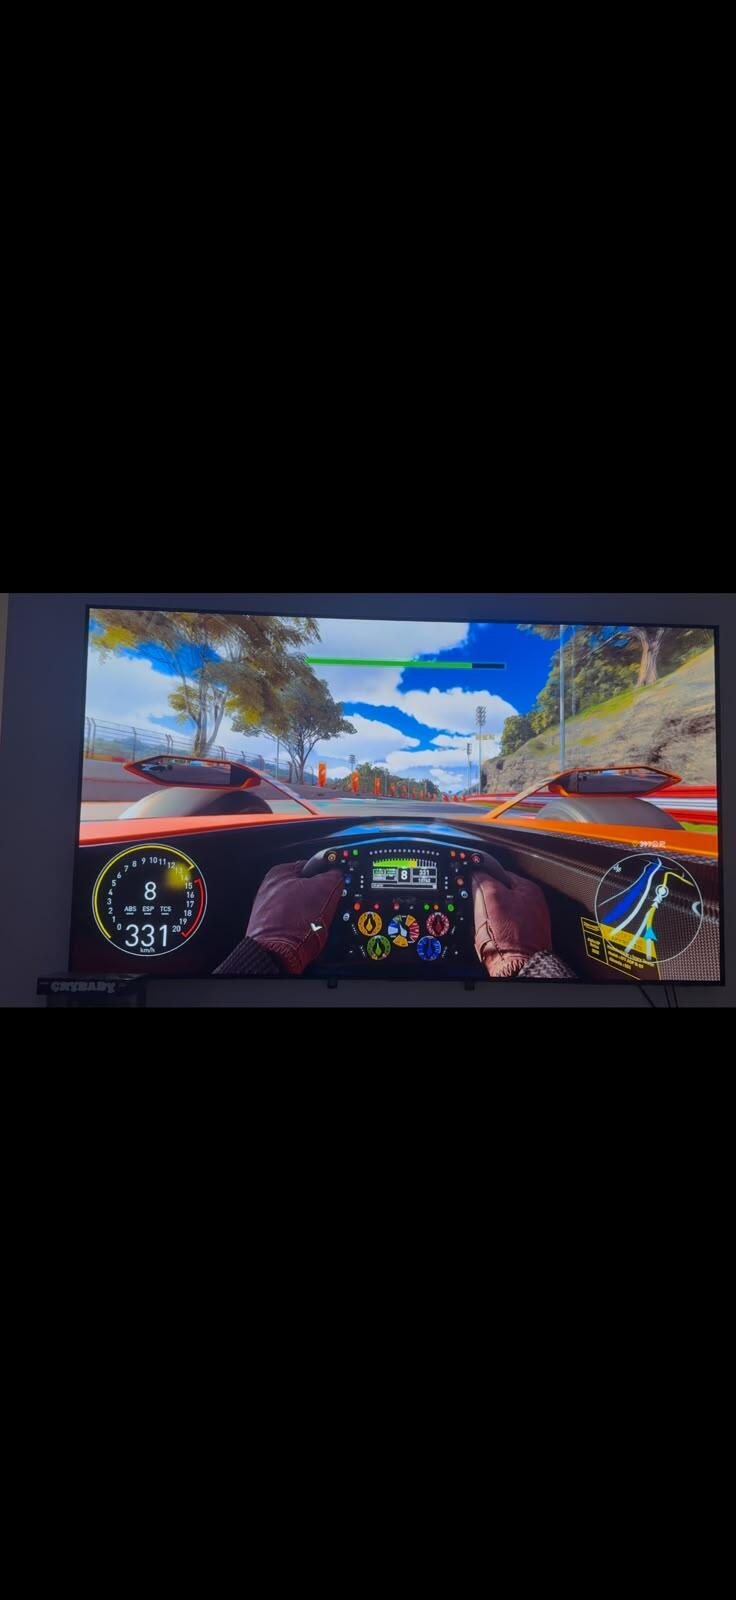
A note for gamers: Game Mode strips out most picture processing to buy low latency — that is the right trade-off. If your set supports ALLM (Auto Low Latency Mode) it will switch over by itself when a console starts, with nothing to press. To see which sets have ALLM, VRR and HGiG, browse our gaming TV range.
Three things specific to a Hong Kong living room
1. Daylight — the main enemy here
Plenty of Hong Kong flats face south or sit high with an open aspect, so daytime living-room light levels run well above the European or North American average. In that situation:
- Do not reflexively lower brightness — in daylight that only makes the picture look grey
- Save two modes: one for daylight, one for the evening
- If maximum brightness still is not enough, the limit is hardware, not settings. Mini LED has far more brightness headroom than ordinary LED, while OLED is the weakest choice for a bright room
2. Short viewing distances — sharpening artefacts get amplified
Typical Hong Kong living-room depth puts you around 1.7–2.3 m from a 55-inch, 2.0–2.7 m from a 65-inch, and 2.3–3.1 m from a 75-inch. The closer you sit, the more visible artificial edge halos, noise and compression artefacts all become — which is why the "set Sharpness to 0" advice carries extra weight here.
For a full size-and-distance breakdown, see the guidance on our 55-inch and 65-inch ranges.
3. Local broadcast is not 4K — so upscaling settings matter more
Hong Kong digital terrestrial television is HD/1080i, not 4K. That means your 4K TV spends most of its time upscaling. Consequences:
- High Sharpness magnifies compression noise along with the image — the higher you push it, the messier it looks
- The set's upscaling processor matters more than any setting — that is a specification difference, not something you can dial in
- Noise Reduction can be set to low for local channels, and switched off for 4K streaming
Going further: tools and services
Built-in test patterns
Some TVs include test patterns (Samsung: Settings → Support → Device Care → Self Diagnosis → Start Picture Test). Good enough to check for dead pixels and colour casts, not precise enough for a full calibration.
Calibration discs
Spears & Munsil UHD Benchmark is the current professional calibration disc, with a complete set of test patterns including HDR. (Worth knowing: the old Disney WOW calibration disc has been out of production for years — no need to look for it.)
YouTube calibration videos
Free, and fine for a quick check of whether you are losing black-level or highlight detail. But YouTube is compressed, so it is not suitable for precise colour work.
Professional calibration
A technician measures the panel point by point with a colorimeter and aligns it to D65 and standard gamma. Worth considering for a high-end OLED or a flagship Neo QLED. It is not cheap, but on a set costing five figures it is proportionate.
Environment: not settings, but just as important
- Wall colour — neutral grey or white behind and beside the TV is best. A coloured wall bounces tinted light onto the screen and throws off your judgement of colour
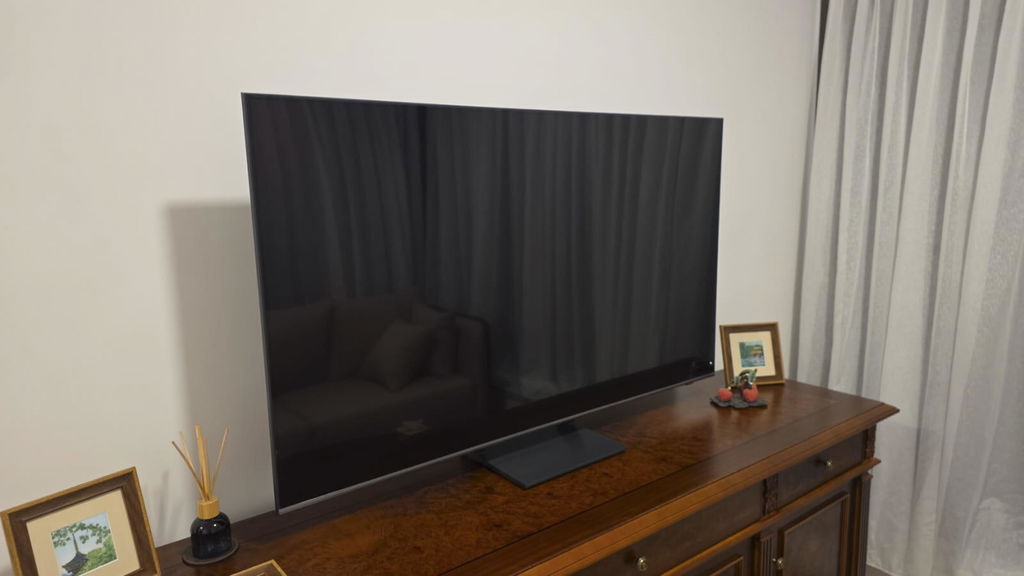
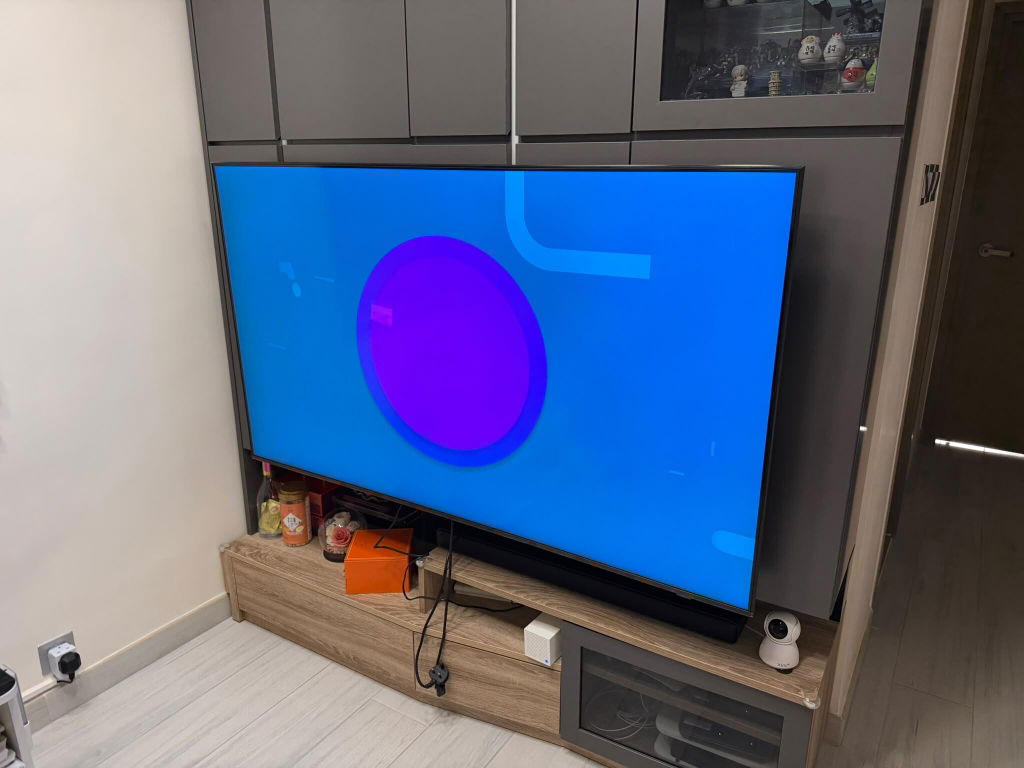
- Reflections — glass cabinet doors, mirrors and glossy floors all reflect. If you can see a reflection from where you sit, moving the seating or adding a curtain does more than any setting change
- Off-axis viewing — people sitting to the side see a different picture. VA panels (most LED and QLED sets) lose colour off-axis; OLED is almost immune. Worth weighing if the family spreads out across a wide sofa
- Bias lighting — a dim warm light behind the TV reduces eye fatigue over long sessions without harming perceived contrast
Quick reference by content type
| What you are watching | Mode | Key points |
|---|---|---|
| Films and drama | Filmmaker Mode | Sharpness 0, Warm colour tone, motion processing off |
| Netflix / Disney+ HDR | Filmmaker Mode (HDR) | Brightness at maximum; adjust separately from SDR |
| Football and live sport | Sports | The one case where motion processing is worth having on |
| Local channels and news | Standard | Keep Sharpness low; Noise Reduction can be set to low |
| PS5 / Xbox / PC | Game Mode | ALLM switches automatically; enable VRR to cut tearing |
| Daytime viewing | Standard, brightness raised | Save it separately and switch back to Filmmaker at night |
Power consumption and lifespan: two different things
"Lowering brightness saves power and extends the life of your TV" — that needs splitting by panel type:
- OLED: genuinely meaningful. OLED is self-emissive, so sustained high brightness accelerates pixel wear and raises burn-in risk. Keeping brightness in check and avoiding long static images (news channel logos, game HUDs) is real maintenance
- LED / QLED / Mini LED: the power saving is real (the backlight is the main draw), but "extends lifespan" is only weakly true — backlight LEDs normally outlast the useful life of the TV. These panels also have no burn-in risk, so leaving a news channel on all day is genuinely fine
If you leave the TV on for long stretches, or game with a permanent HUD on screen, Mini LED and QLED are the safer choices. Conversely, for absolute black levels in a dark room, OLED is still unmatched.
Summary: the five-minute version
- Switch to Filmmaker Mode (Samsung / LG), or Movie mode plus manually disabling motion interpolation (Google TV sets)
- Set Sharpness to 0
- Choose Warm colour tone — looking yellow at first is normal
- Leave Contrast alone
- If night scenes are too dark, adjust Shadow Detail, not Brightness
- Play an HDR title and adjust again — SDR and HDR are two separate setups
- Set brightness by room light, and save one setup for daytime and one for night
Those seven steps put your picture ahead of most homes. Going further means instruments and a professional service — for most people the returns are far smaller than the seven steps above.
Questions about choosing a set or calibrating one, WhatsApp us — send your model number and we can tell you exactly which settings to change. Our Kwun Tong showroom holds stock, and you can arrange to see a set in person.
Related reading: for the practical differences between panel technologies, compare OLED, QLED and Mini LED backlighting; gamers should start with gaming TVs; to match the picture with better sound, see our soundbar range. Delivery, installation and warranty terms are set out in our FAQ.